
Creating a Custom MMC Console

1. Click Start > Run > type MMC and click OK

2. Click File and select Add/Remove Snap-in
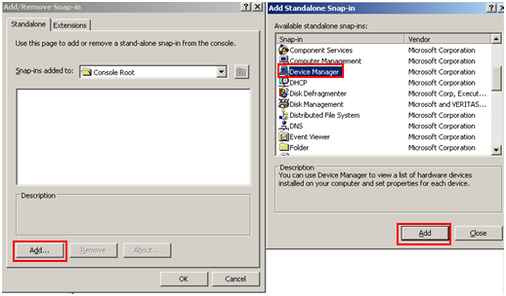
3. Click Add and select a Snap-in (Device Manager) then click Add or double click. Depend on what you select the next screen may not appear. You can add as many snap-in as you want.

4. Select Local Computer and click Finish. If you are an Administrator and you want to manage Device Manager for a computer on the network, you can select Another computer and then click Browse.

5. Notice the snap-in you have selected appear in the add and remove snap-in window. Click OK

6. Click on Device Manager on local computer to view device manager for the computer you are on.

7. Click File and select Save As

8. Choose the location, name and click Save
