
Windows XP Mode Installs
Windows 7 has several built-in tools to help with program compatibility and Windows XP programs should be installed directly on Windows 7. Windows XP Mode runs some older productivity programs that might not run on Windows 7. Visit the Windows 7 Compatibility Center to find software that works with Windows 7.

1. Click the link http://www.microsoft.com/windows/virtual-pc/download.aspx to download Windows XP Mode. Chose Windows 7 Edition and Language.

2. Goes through the validation process.

3. Click Windows XP Modeto download in step 1. Click Run

4. Click Next

5. Click Next

6. Wait for the setup to complete

7. Click Finish

8. Click Windows Virtual PC to download

9. Click Open
 |
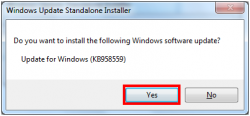 |
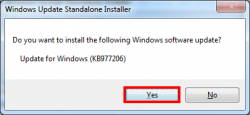
10. Click Yes

11. Click I Accept

12. Wait for the Updates to download and install

13. Click Restart Now

14. After restart, go back to the website and click Windows XP Mode update
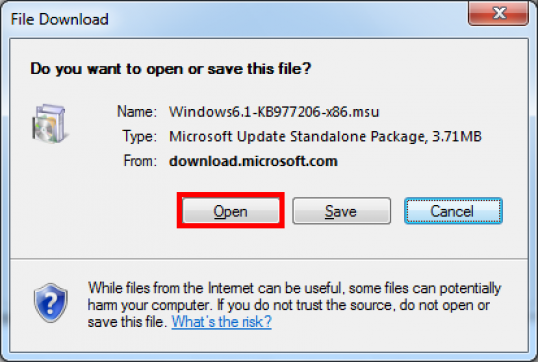
15. Click Open

16. Click Allow
 |
 |
17. Click Yes

18. Wait for the install to complete

19. Click Restart Now

20. Notice the Windows Virtual PC that was install

21. Click Start. Type Windows XP Mode in Search Box. Select Windows XP Mode

22. If you get the above message go into BIOS by pressing F2 or another F Key depending on you computer.

23. Click Start. Type Windows XP Mode in Search Box. Select Windows XP Mode

24. Check I accept the license terms and click Next

25. Enter Password and Confirm password. Check Remember credentials (Recommended) if you want to and click Next

25. Click Start Setup

26. Wait

27. Click Start > All Programs > Windows Virtual PC > Click Windows XP Mode

28. Windows XP open
